If Apple made aquariums the Biorb Life tank is what it would be. Yes its modern but its also astonishingly expensive, £300 for something that really is worth no more than £50. But there we go, I have this ridiculous tank and I love it, now that the pain of paying for it is a distant memory. Unfortunately the Smart light at the top started flashing and causing me issues – presumably afte failure of one or more of the LEDs.

I looked at BiOrbs replacements and for the price of a small mortgage they have the Biorb MCR which offers any colour at the press of a button and it comes with a remote.
DIY Smart Lamp
Having made a number of projects using the ESP8266 wifi connected boards I thought I could make my own lamp if I could find a suitable LED and perhaps code up an app to change the colours.
Turns out its easier than that, with a little research all the building blocks are out there – if a little tricky to find out what they are called.
- PowerDot 10W RGB LED – this was probably the most expensive part especially as I trashed the first one.
- One issue I did encounter was that the blue stopped working and I thought this would be failure of the LED but it turned out that the solder was fractured, so simply re-flowing it with proper leaded solder fixed that.
- ESP8266 – Generic, whatever happened to be on Amazon that day.
- 40mm graphics fan
- These are cheap and readily available.
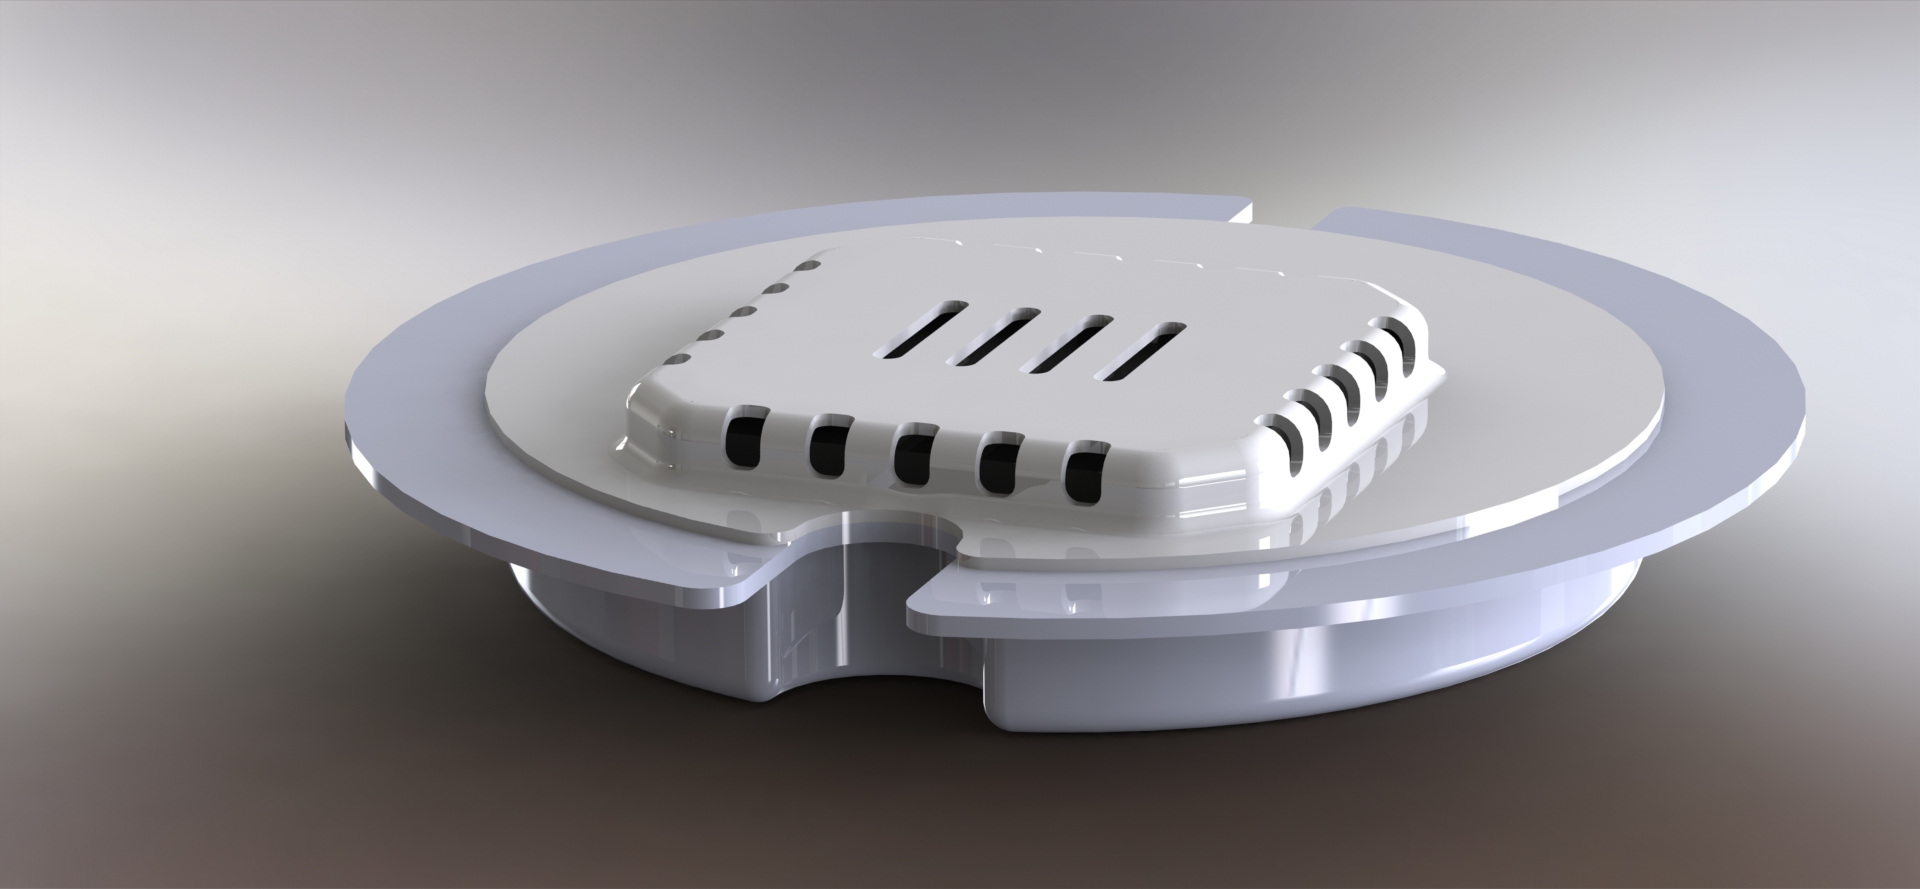
- 3D printed custom enclosure – I designed this is Solidworks in two parts that can be press-fitted together. I printed it in white PLA.
- Software Libraries
- Espalexa – library that simulates Philips Hue devices
- FastLED – library that provides addressable LED functionality in addition to many colour utility functions, such as fading from one colour to another.
- ESPAsyncWiFiManager – Generic library I always use instead of hard-coding the wifi credentials. This starts up a hotspot and then you can set the details using your phone.
I wanted to prolong the life of the fan as much as possible as its a moving part in addition to keeping the noise as low as possible (Although the aquarium is noisy anyway with the pumps etc). So using the FastLED library you can work out the power dissipation of the current colour and brightness, I use this to produce a power factor between 0 and 1 and then use that to control the fan speed. In the end the fan starts to turn at 25% brightness and the maximum duty ratio is 40% of full power – so even at full chat its almost silent. The only exception is that on start-up I run the fan at full power for 5 seconds before reducing the speed to blow off the dust and give the bearings a good thrashing.
At night the fan isn’t required and in the day (8hrs) it runs at about 40%. I used an N-Channel logic level FET to control the fan speed. The fan is brushless and doesn’t really like being powered by PWM signal, so I created a simple RC filter, so the fan see’s an average voltage. This also stops it singing at the PWM frequency.
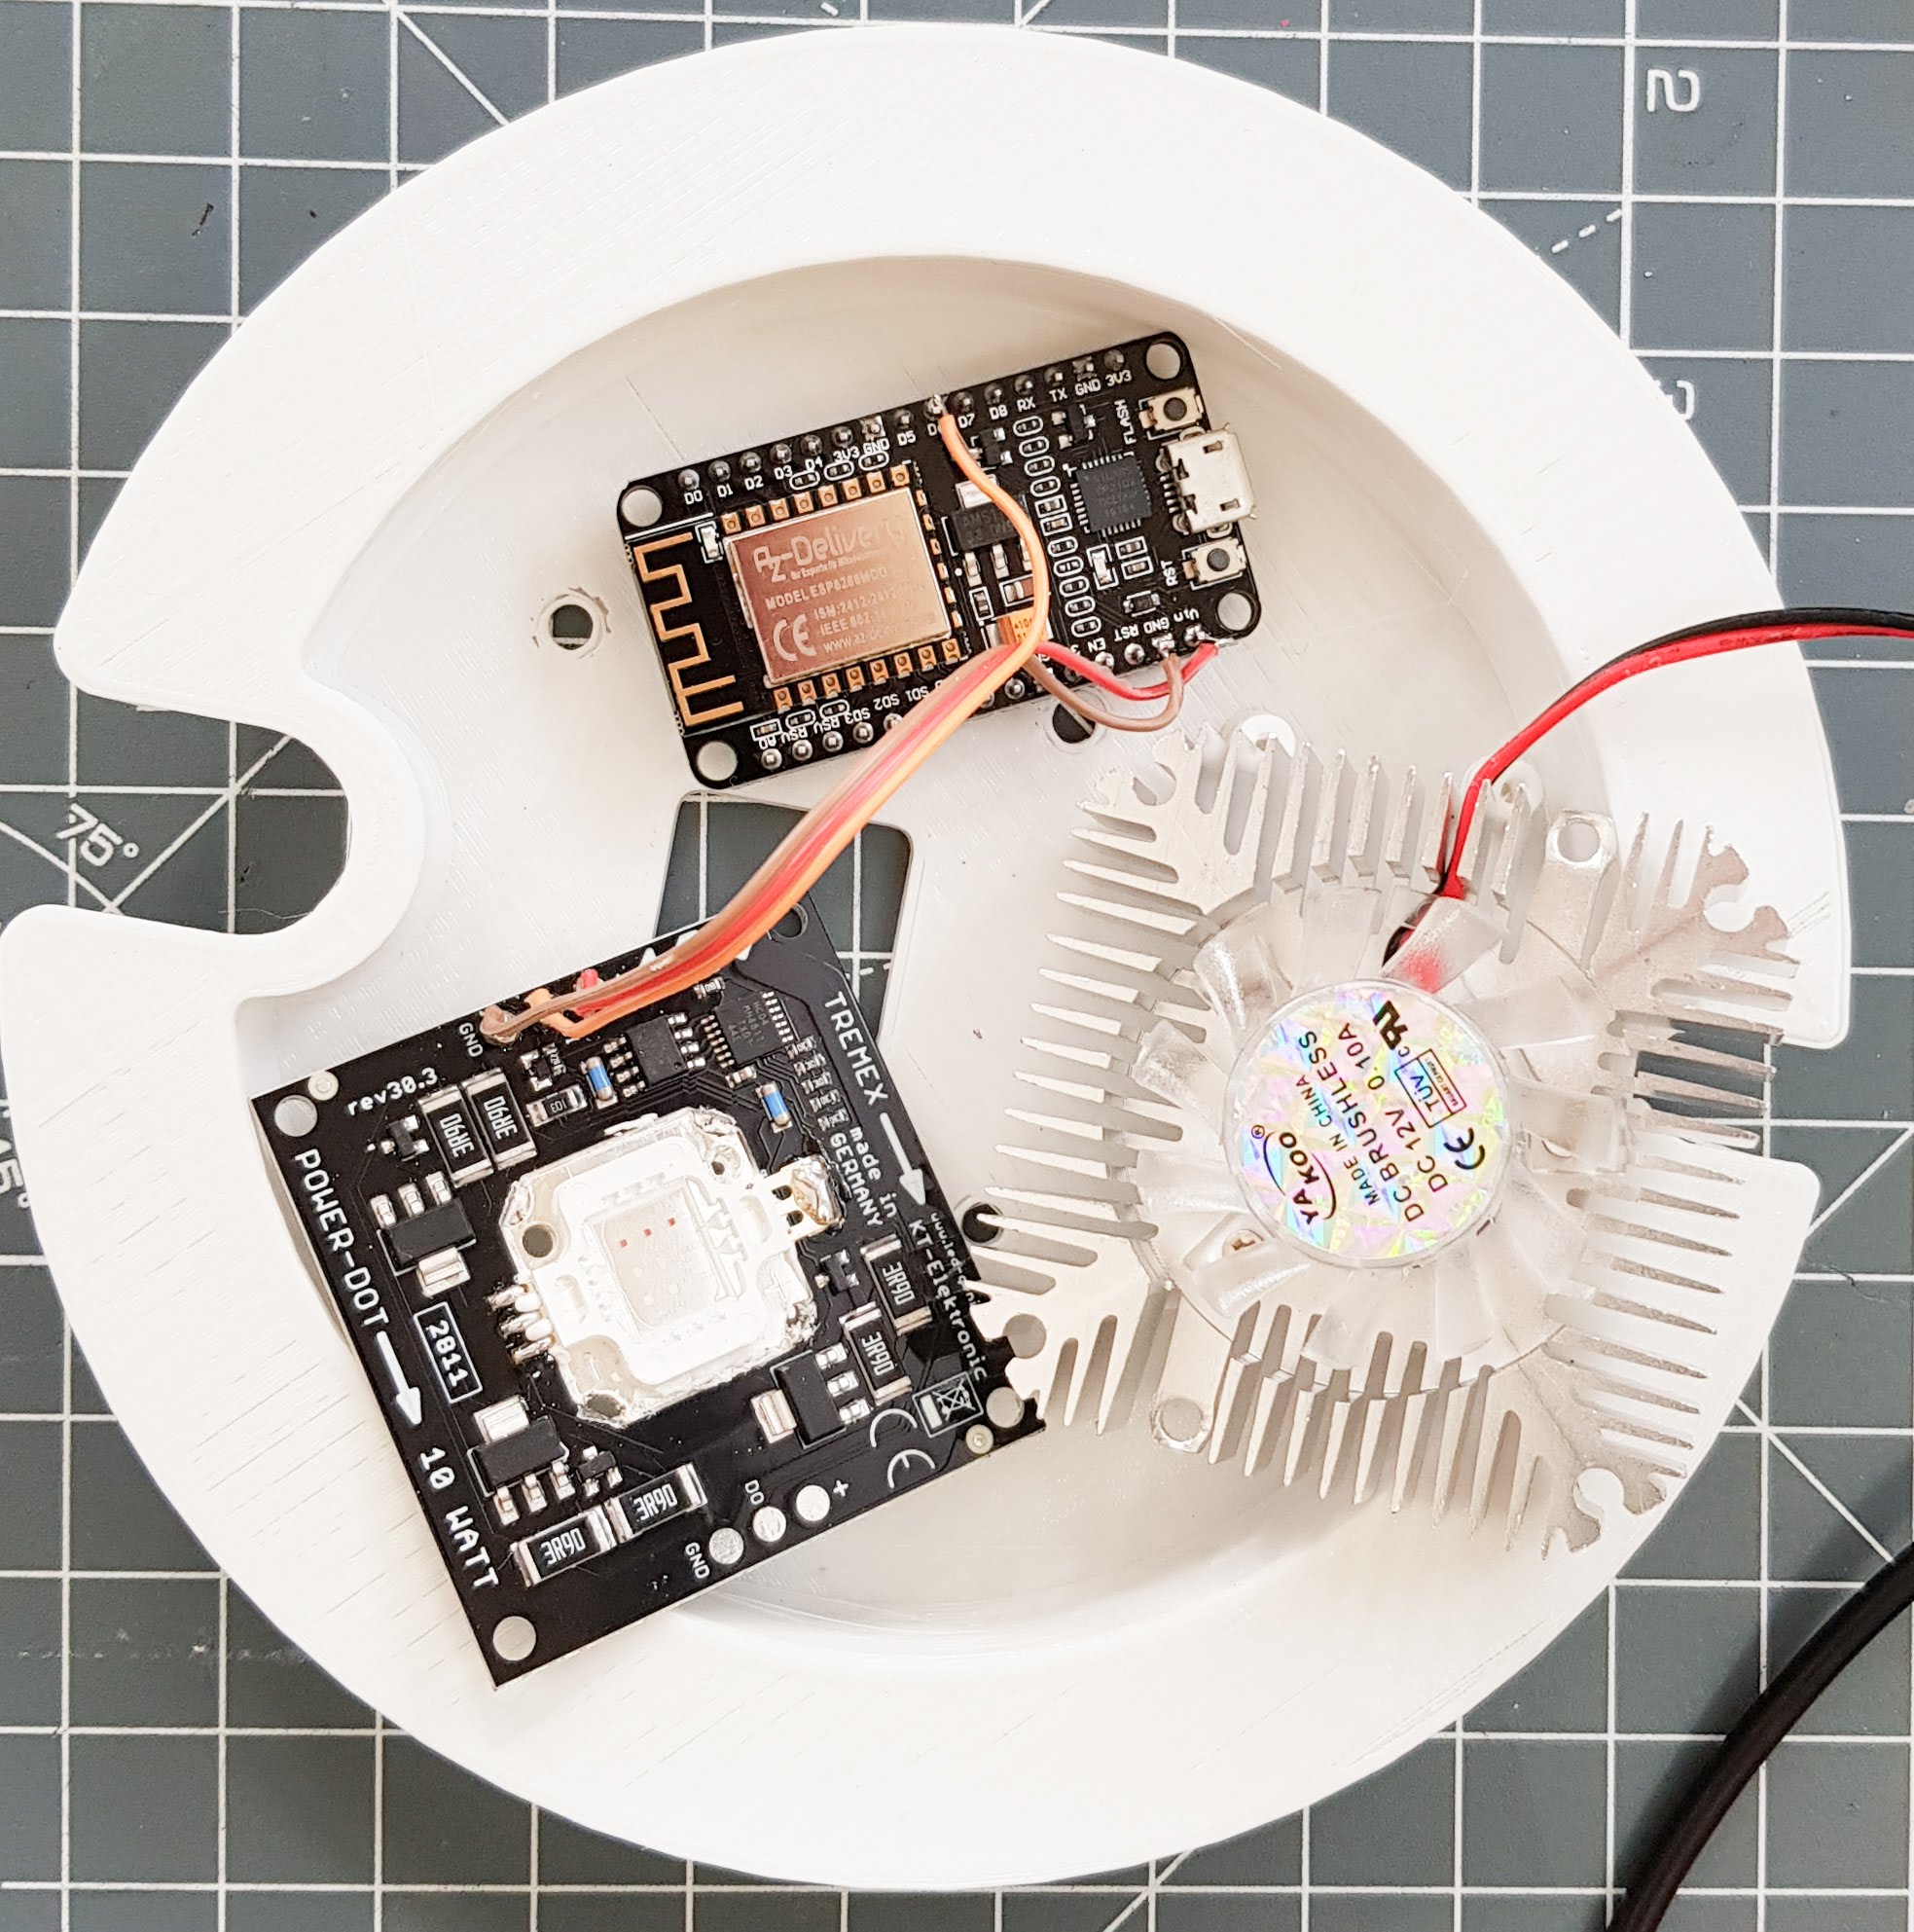
ESP8266, Powerdot 10W RGB LED and 40mm Cooling Fan 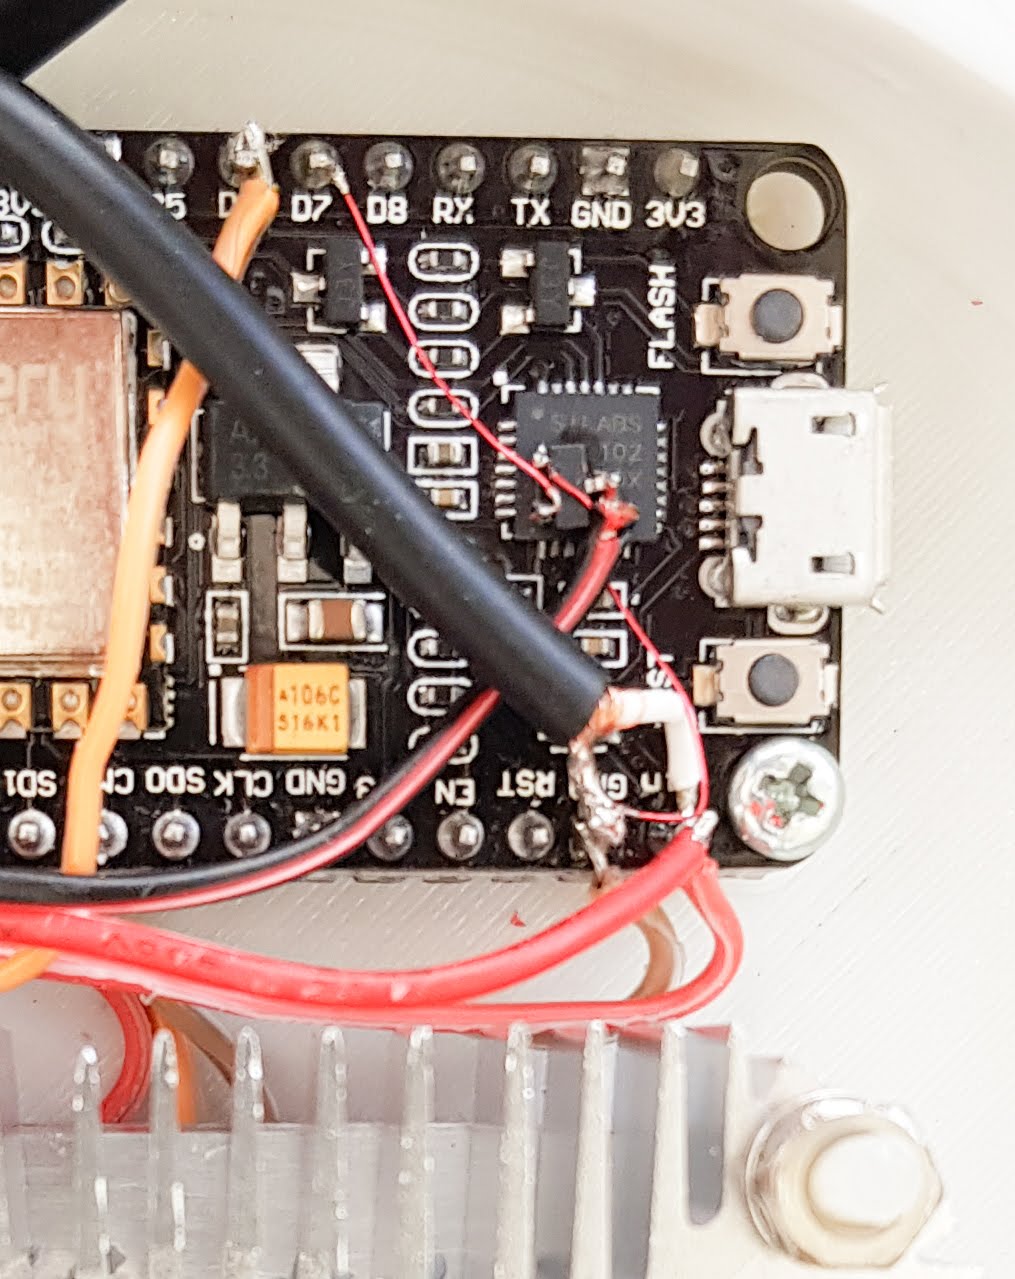
Logic level MOSFET to control fan speed 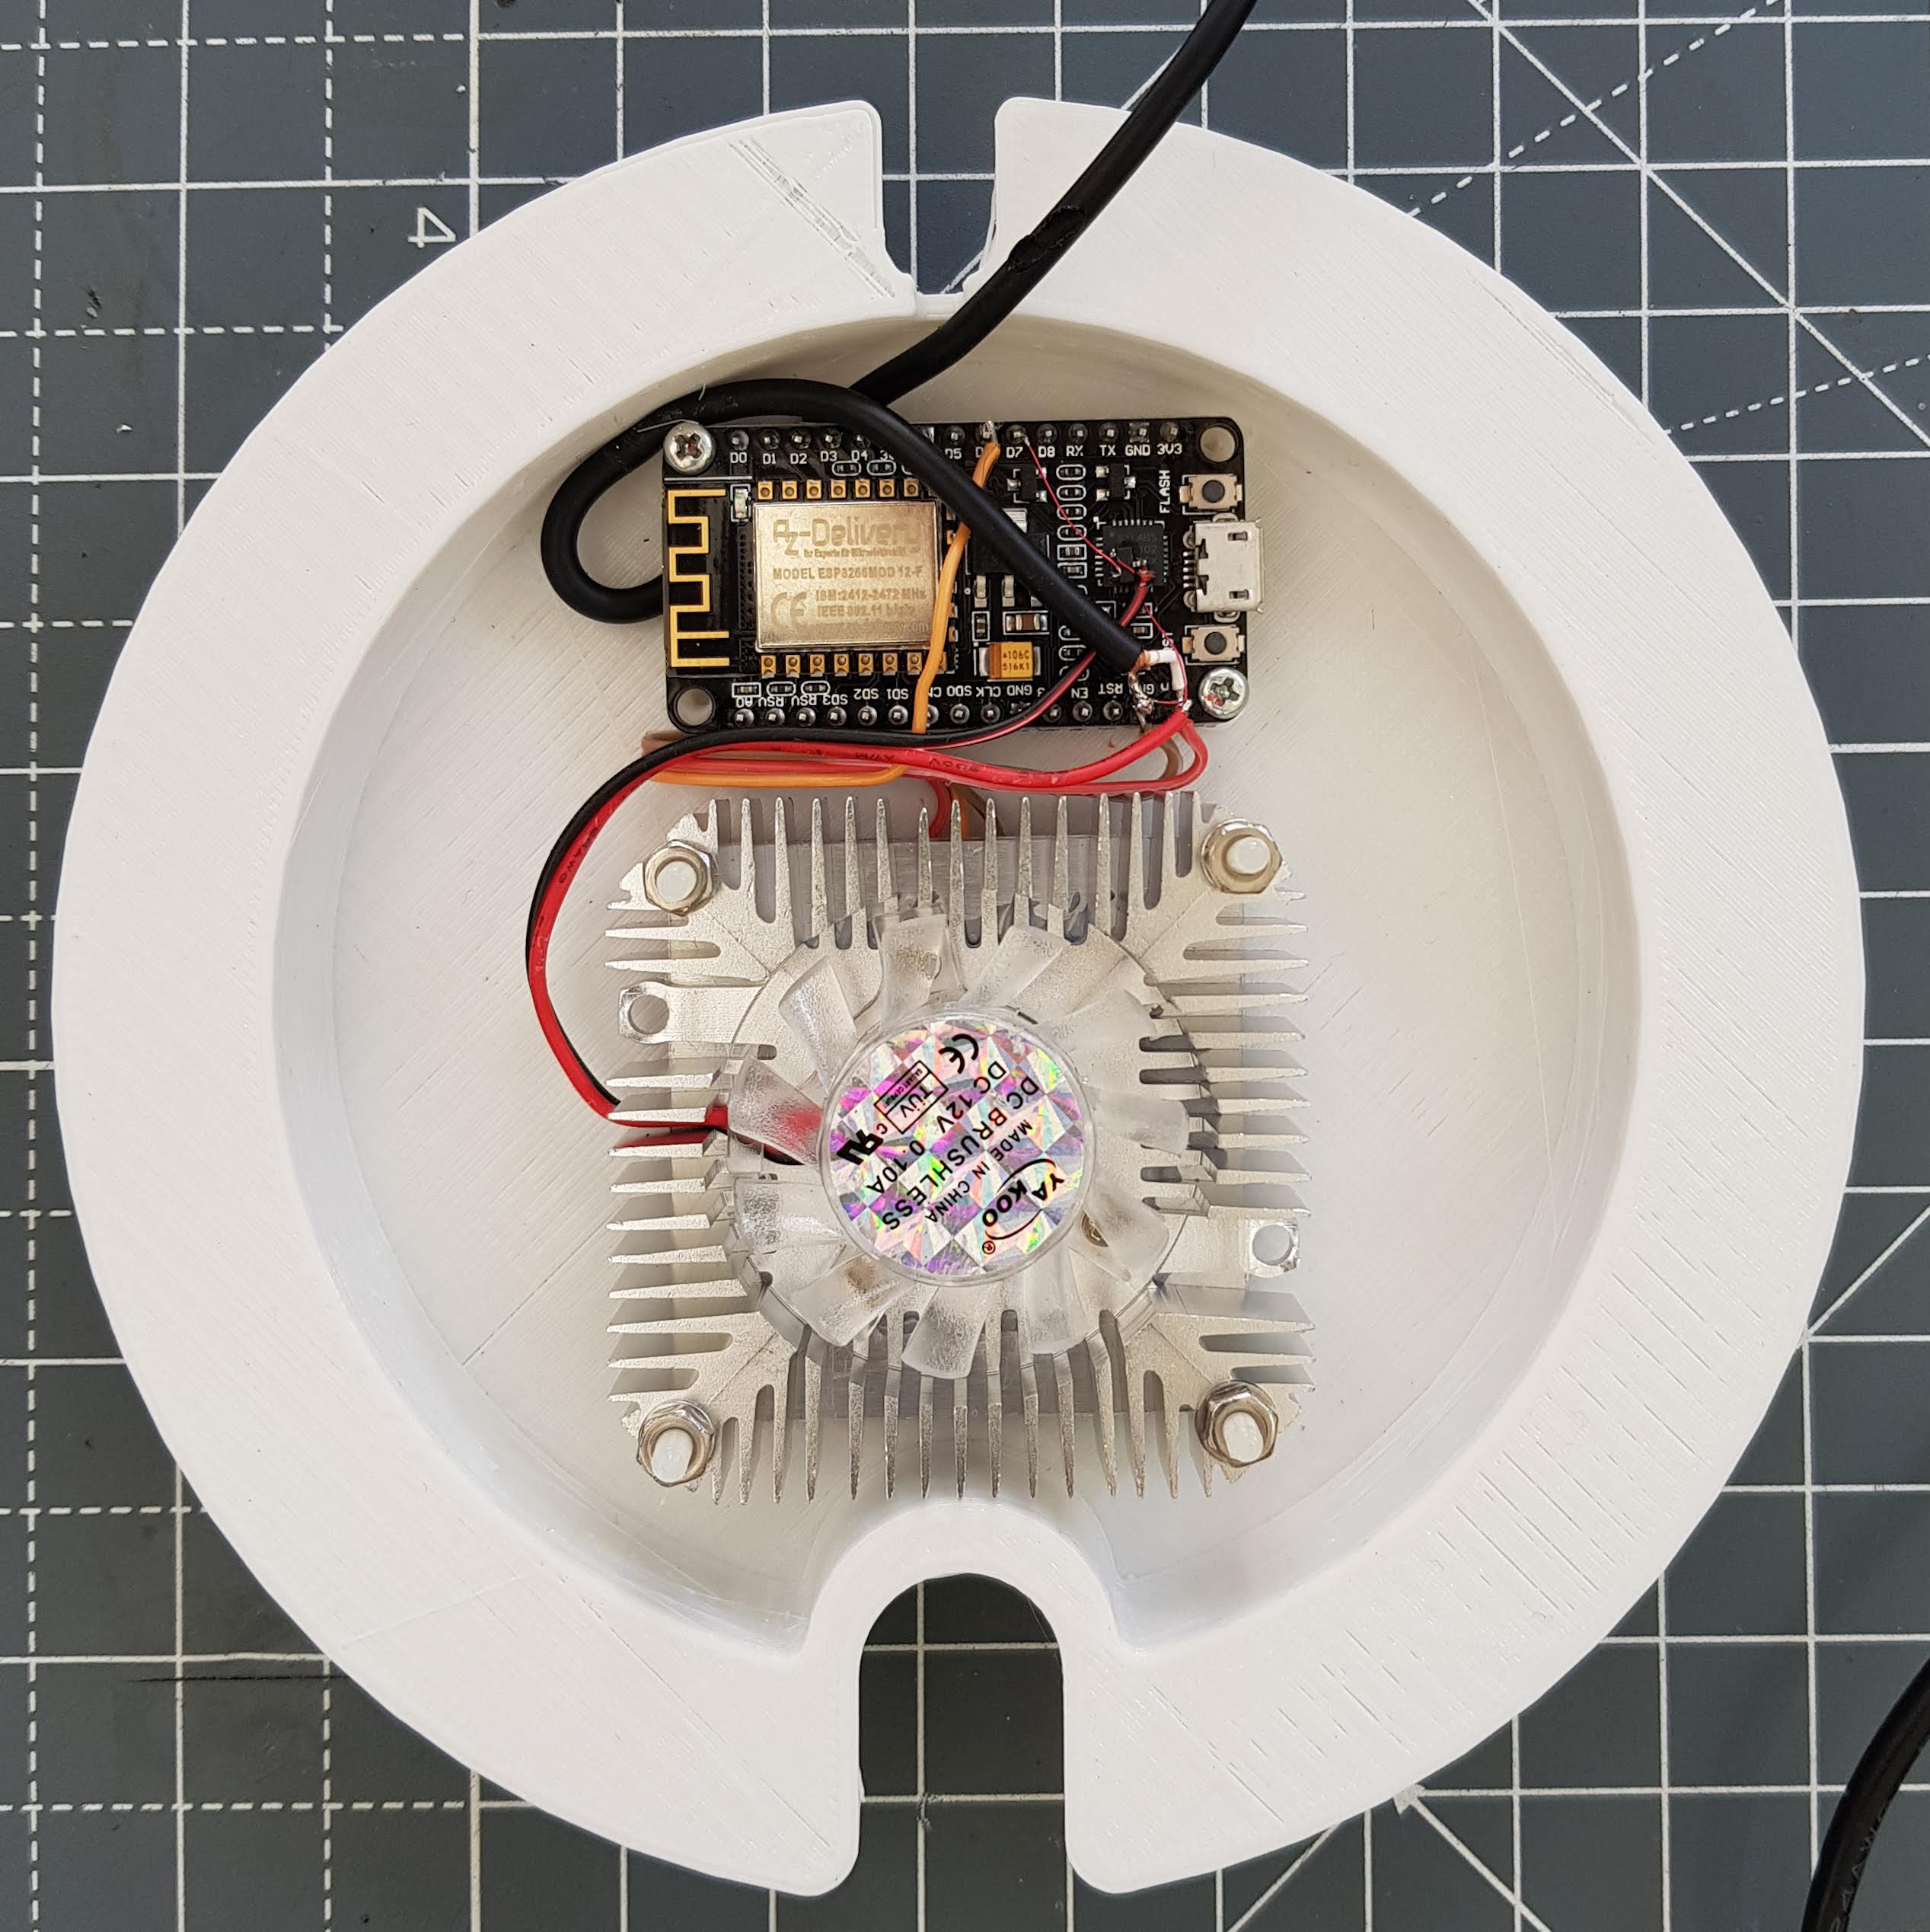
Fitted into 3D printed enclosure 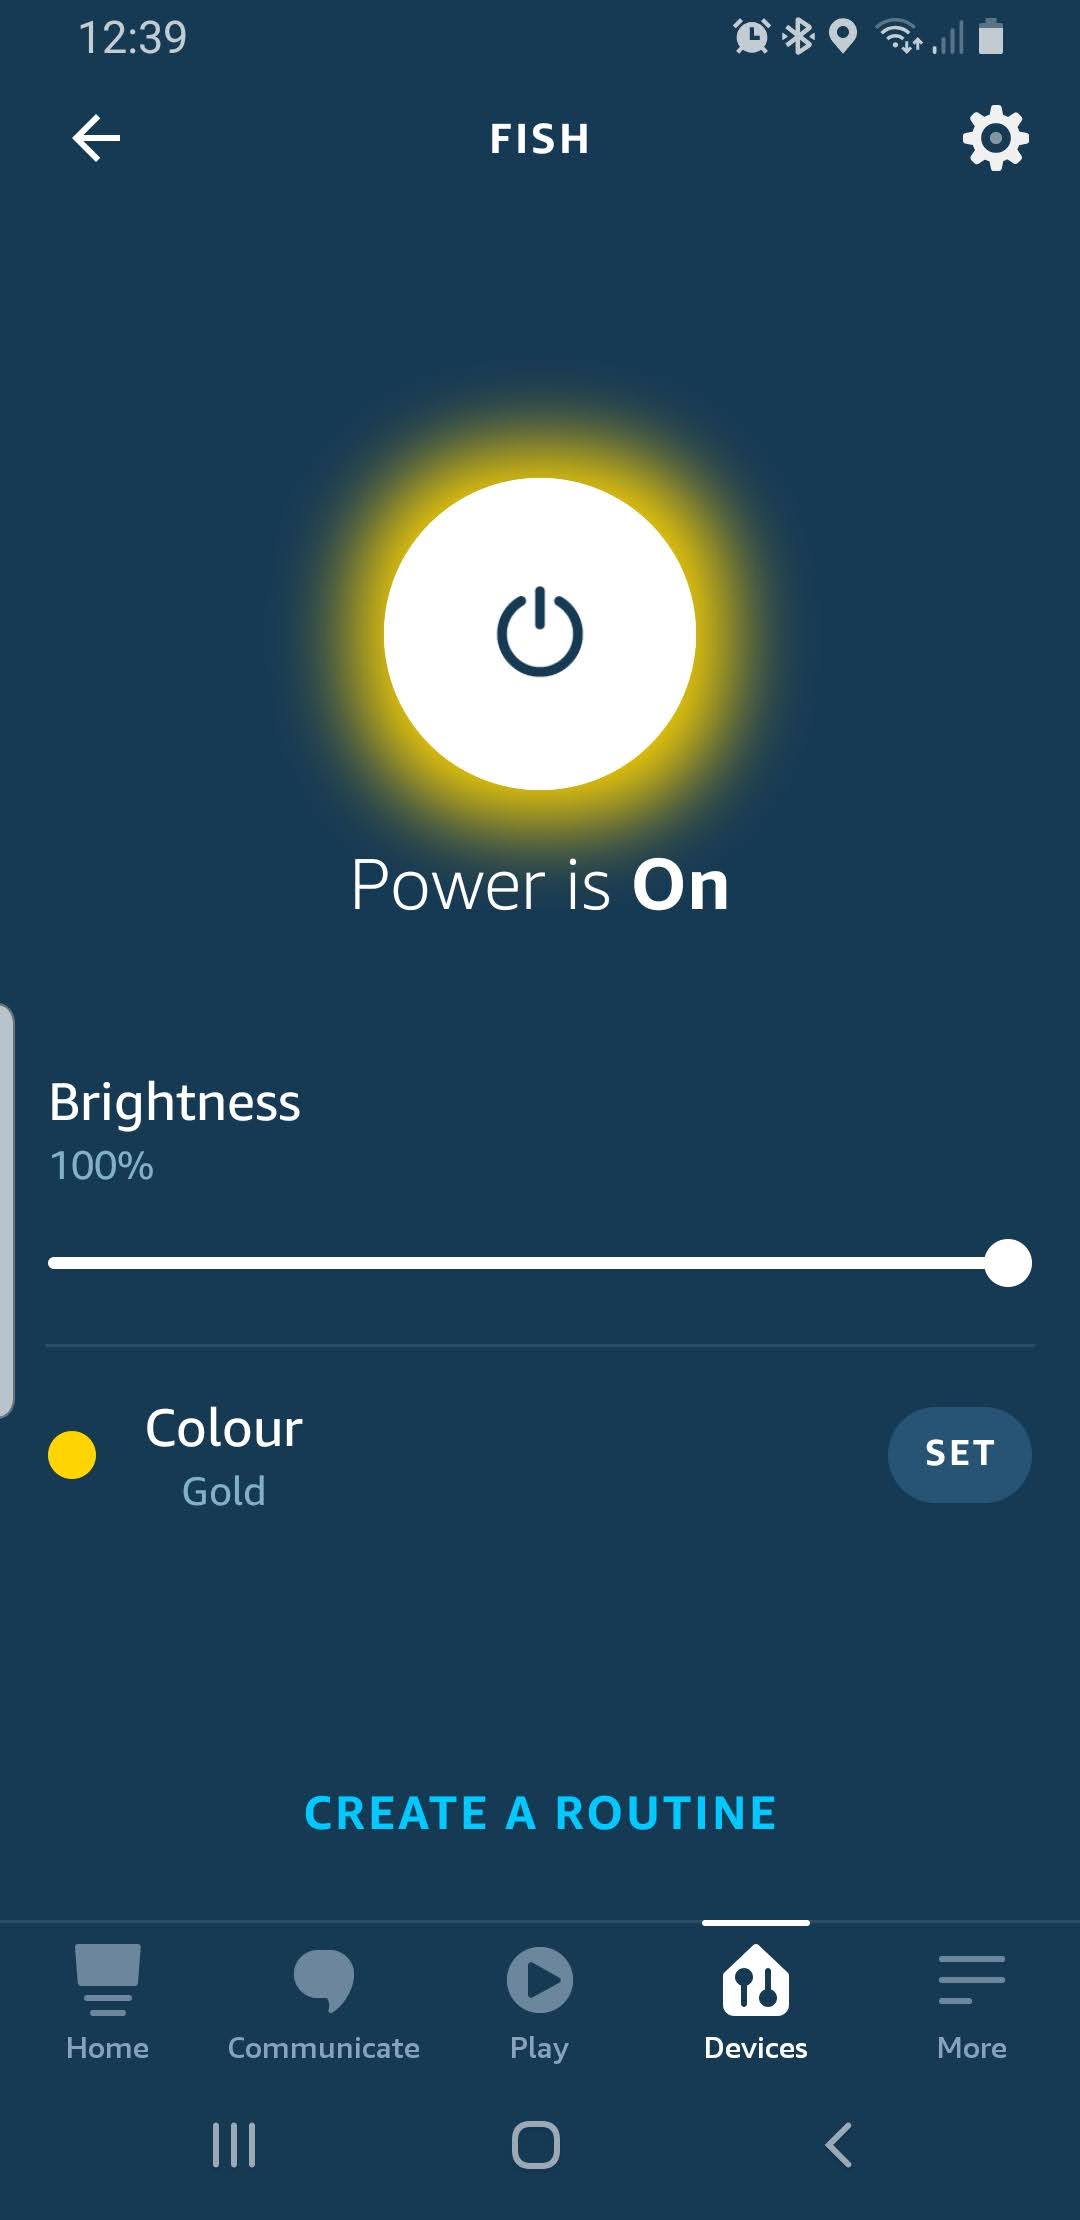
Testing with Alexa App 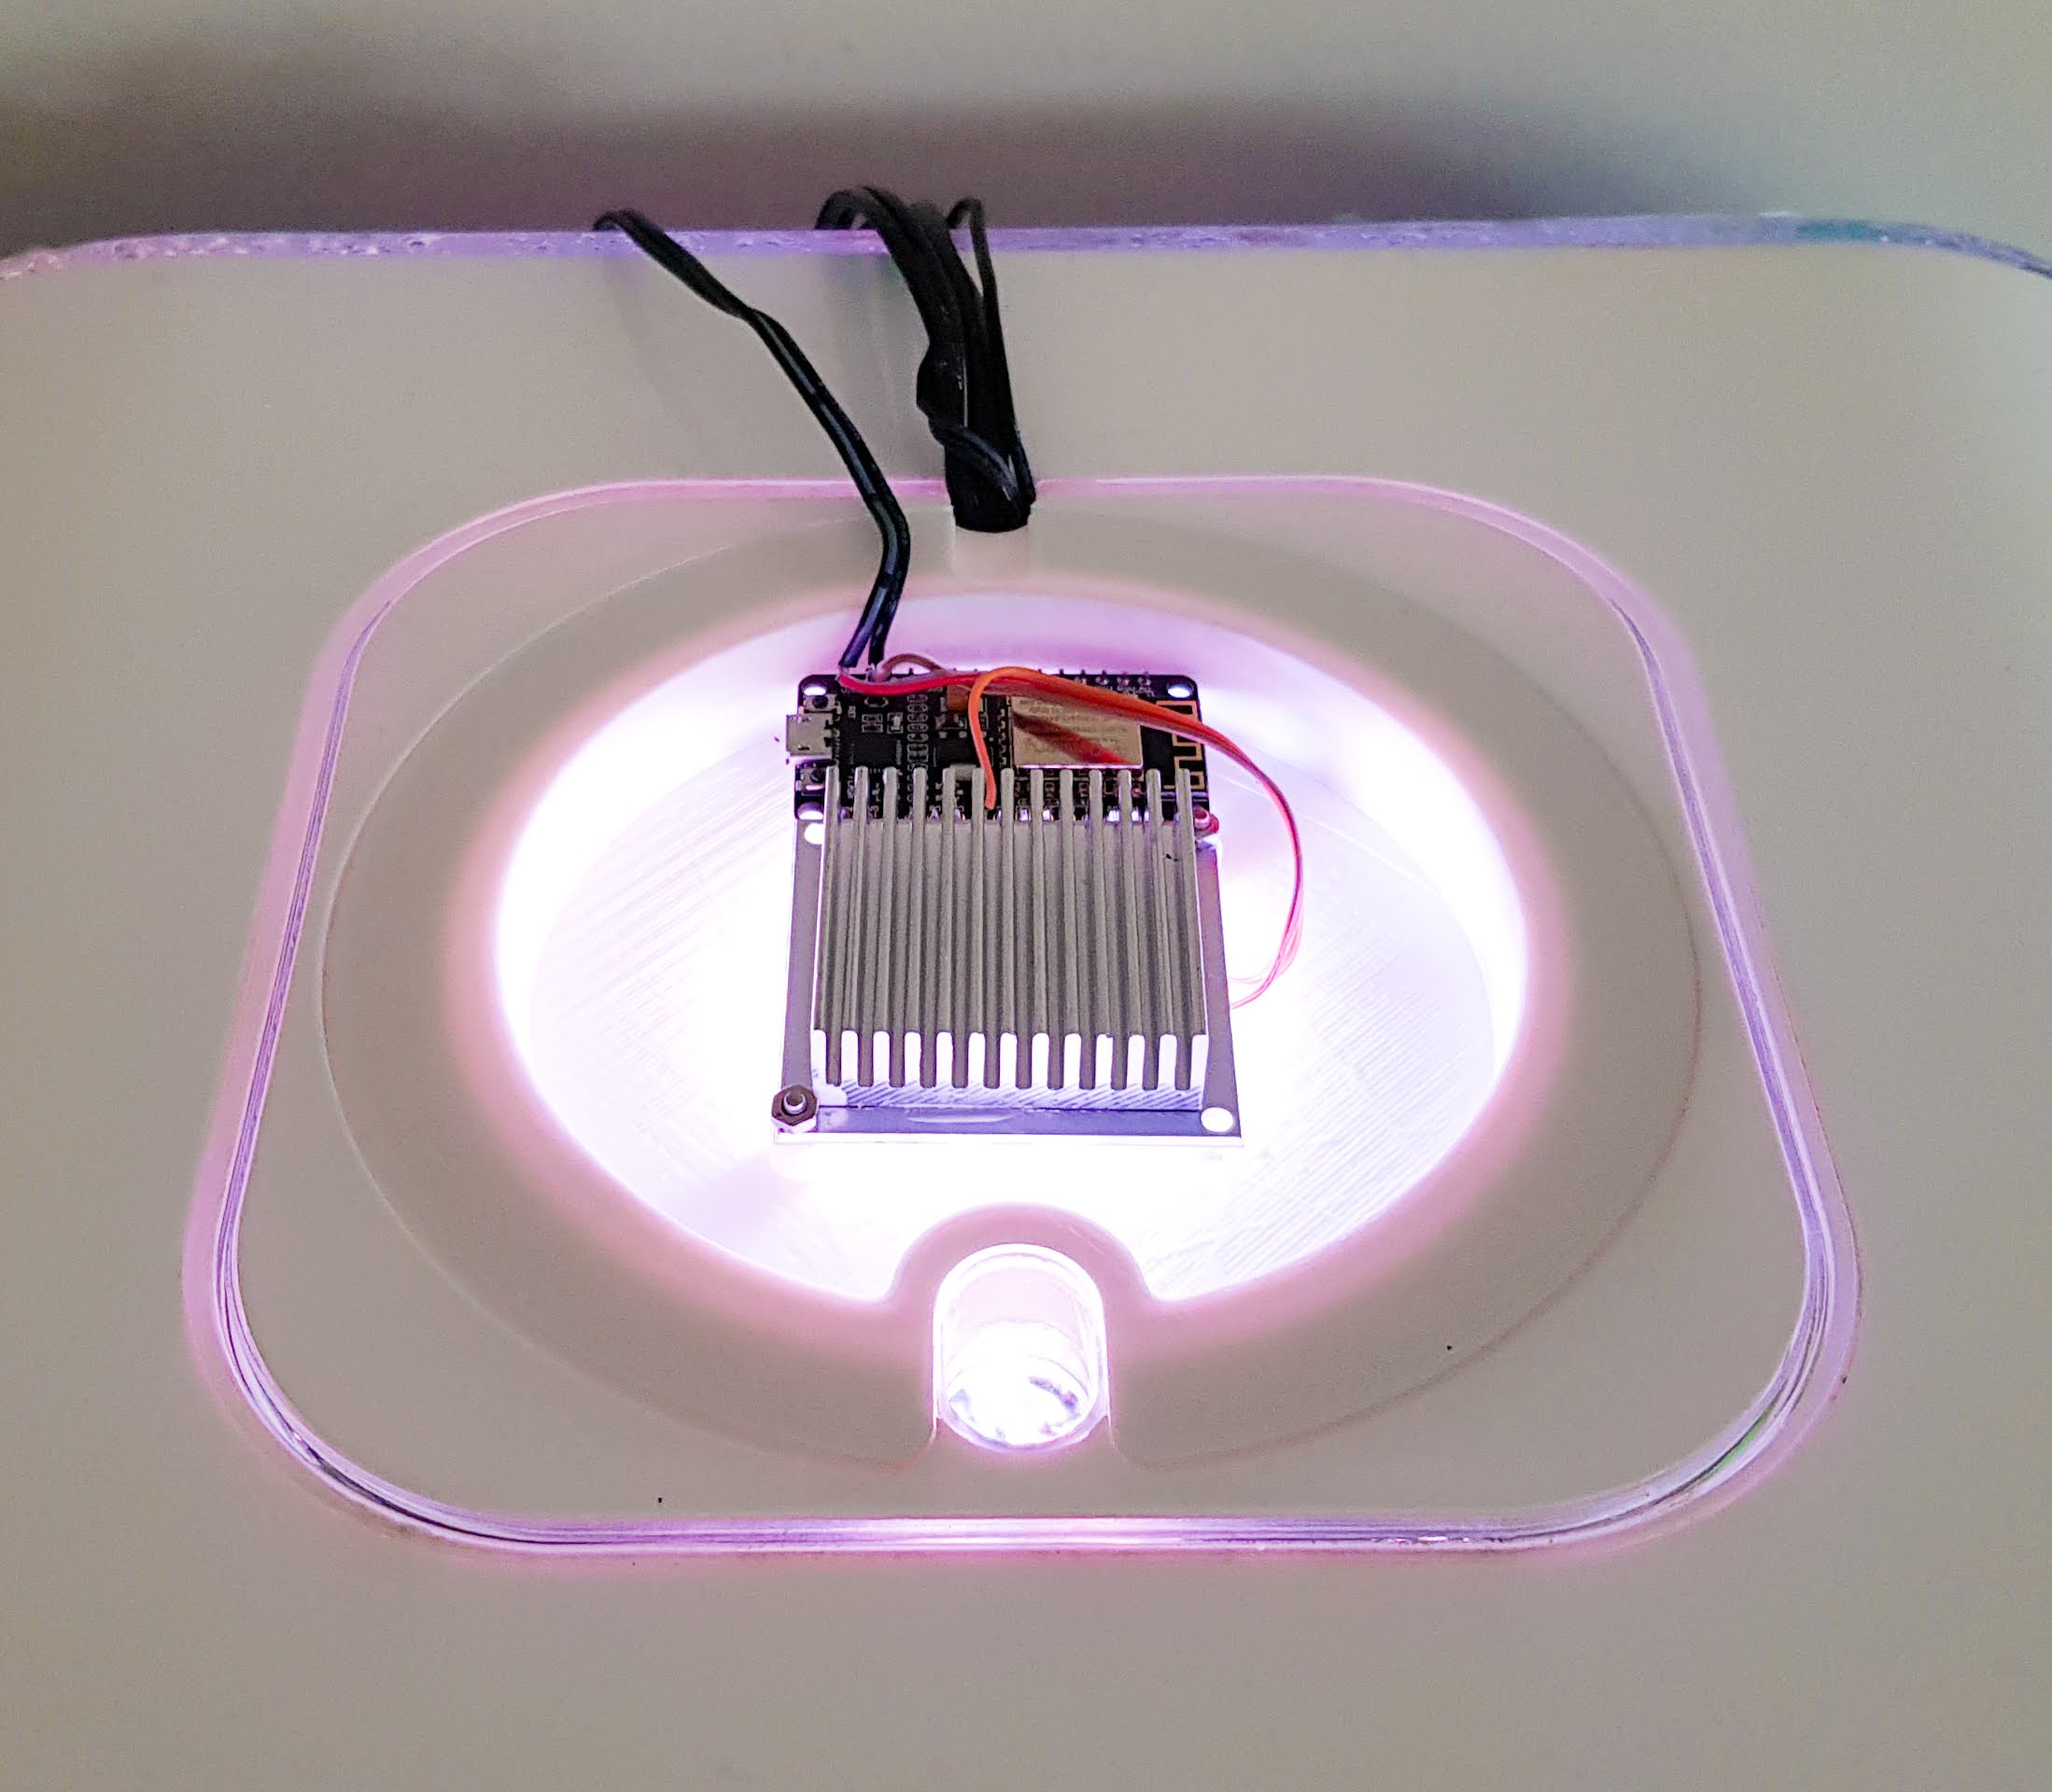
Prototype fitting. At full power passive cooling was not quite sufficient 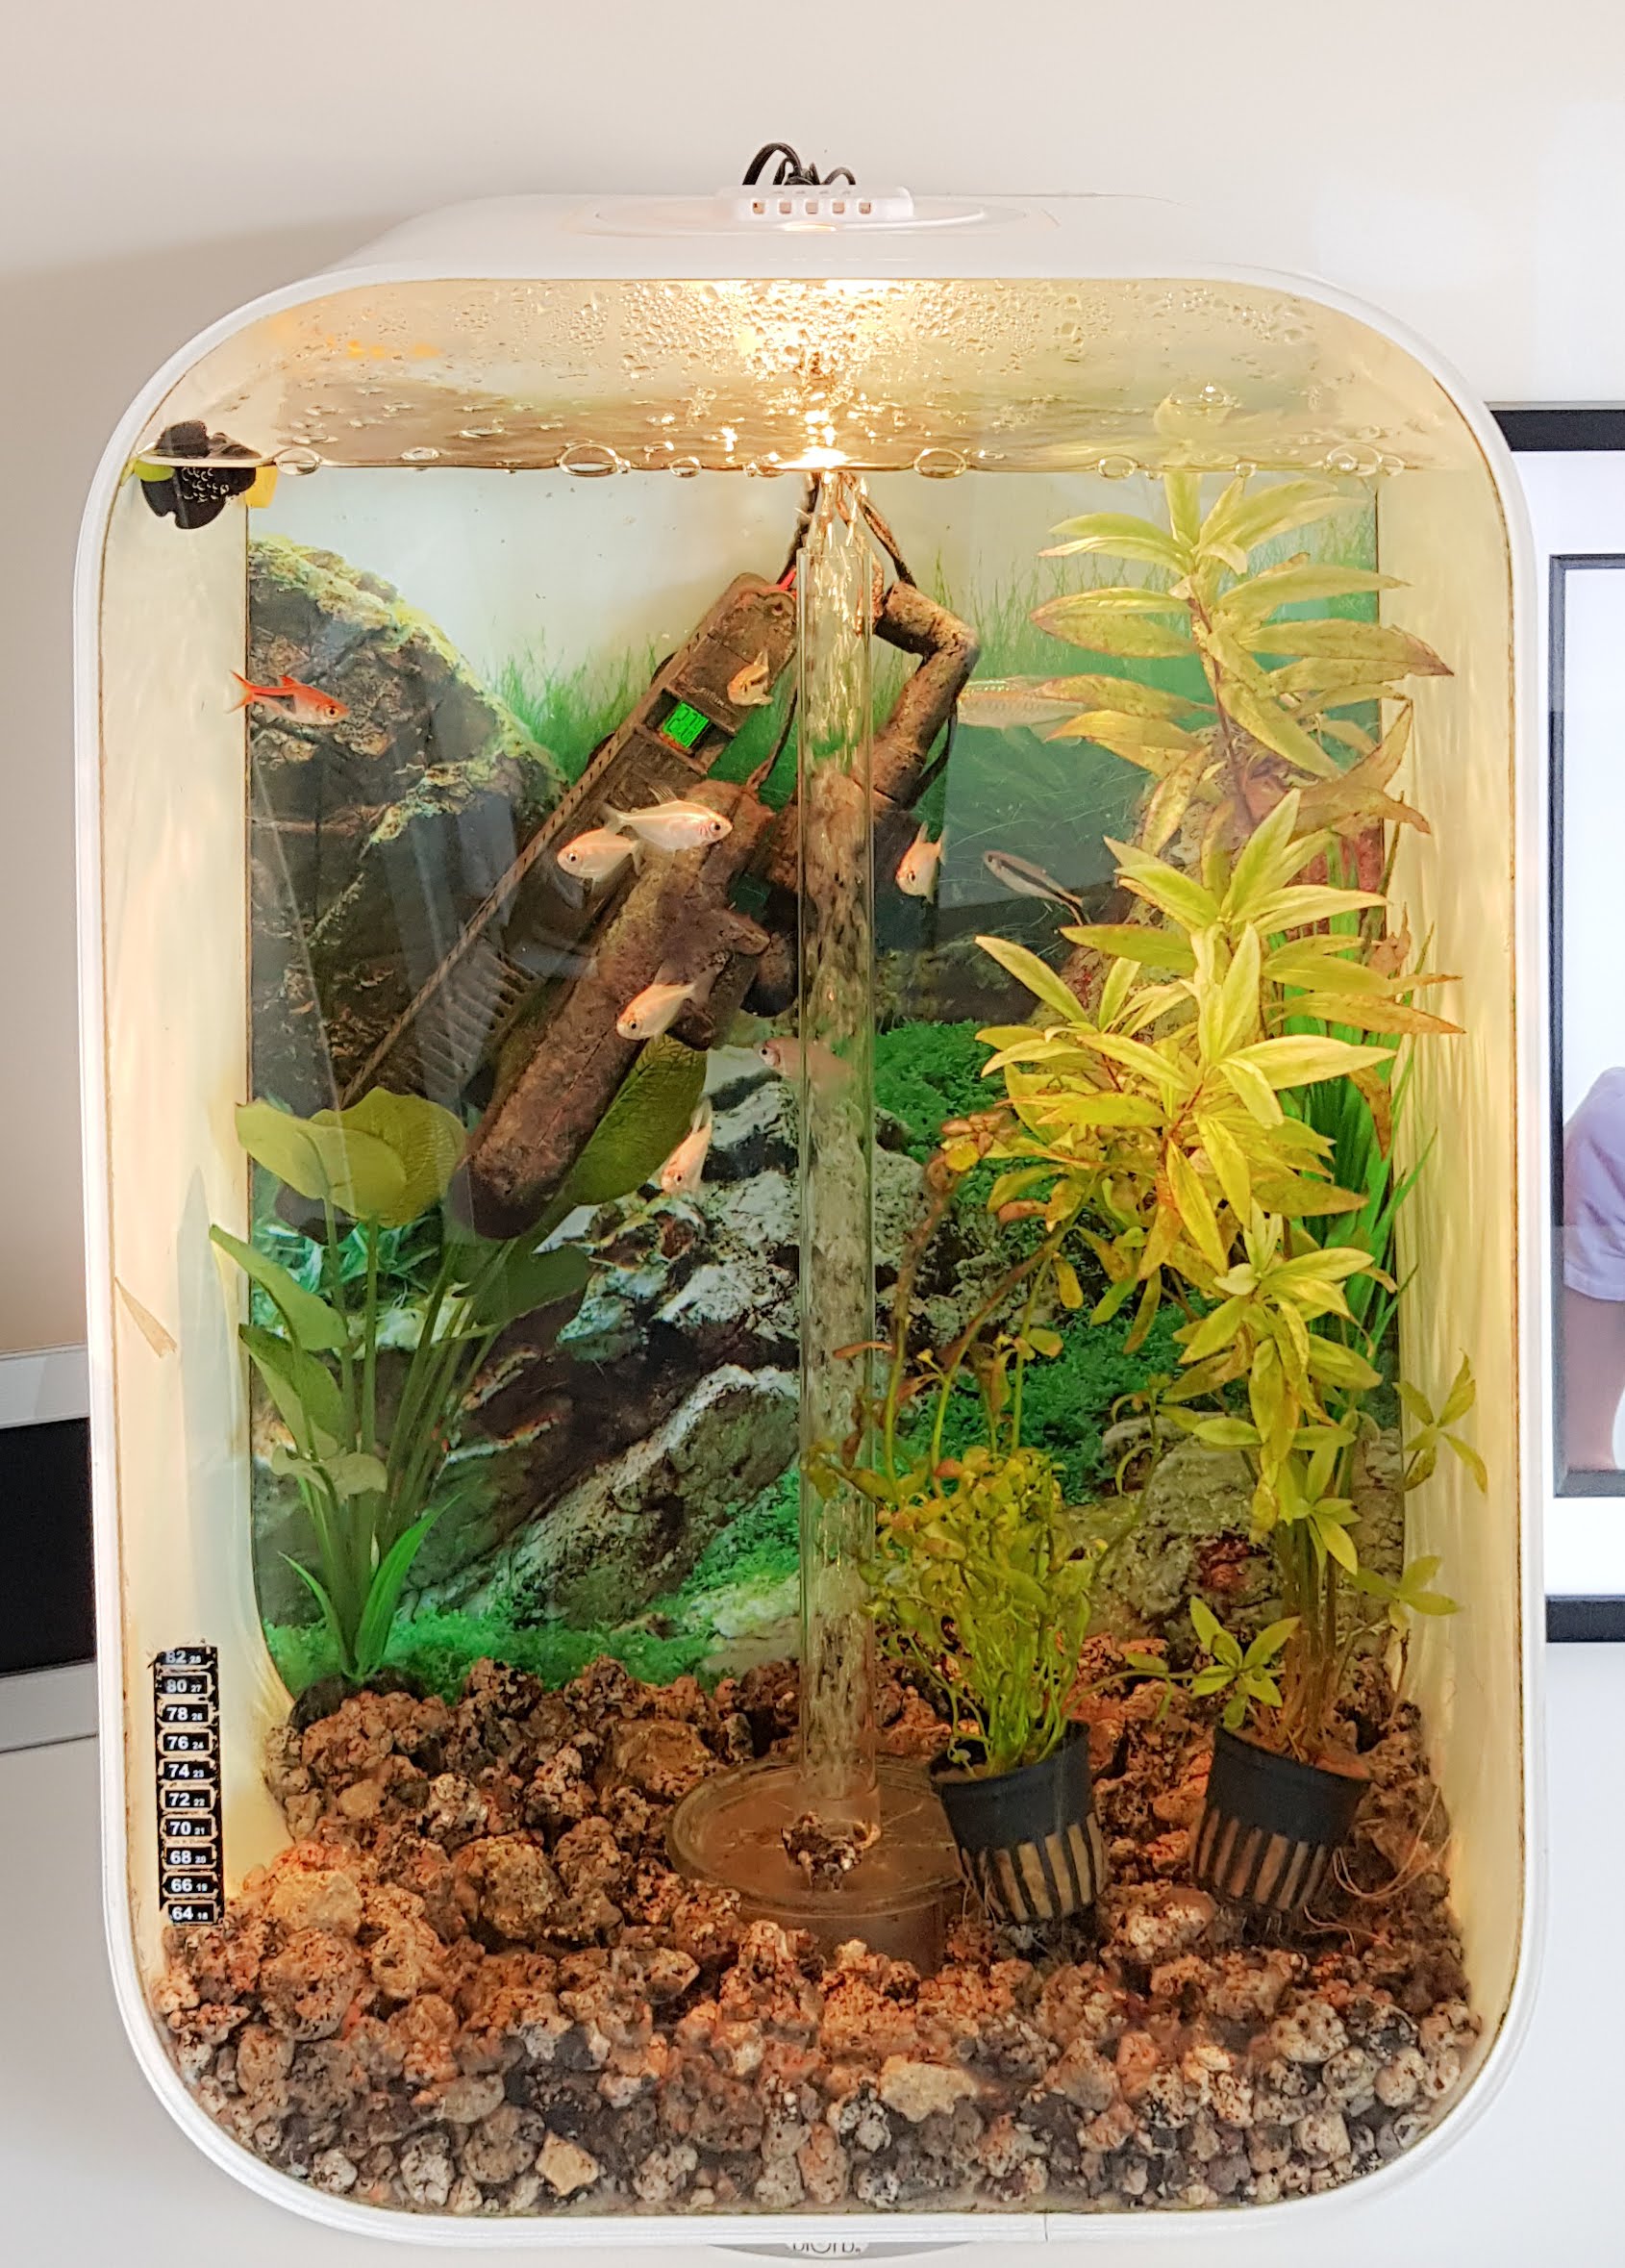
Happy Smart Fish
Alexa
Once you have configured the library, you use the Alexa app to search for your device – here I called it ‘Fish’ and it identifies as a Hue Colour device. You could also have just white, dimmable, colour tuneable etc.
You can set routines with Alexa and have the aquarium come on at a specific time, or sunrise if you like. I found it to be a little hit and miss because I have 3 different echo dots on different VLANs (I think that is the issue) – so for the initial turn on and off, I add a 2 minute delay and then repeat the command and that tends to work. It may be that we get a fix in the library at some point.
FastLED
FastLED is a great library, but to fade from one colour to another you need to working the the HSV colour space rather than RGB. The library finds the approximate closest HSV colour to what you have or want and fades smoothly. But it has issues with secondary colours. So orange looked green, magenta looked red. This was a pain as you didn’t get the colour you asked Alexa for unless it was White, or RGB. So in the end as there is only a handful of colours Alexa recognises I hardcoded them in so that it would translate on the device.
ESP8266 Limitations
The ESP8266 struggled with PWM and FastLED libraries at the same time, because its doing the PWM in software. So you saw random flashes of solid colour from the LED with occasional glitching when fading colours. What I did was to disable the FAN PWM when fading. You probably wouldn’t ever notice.


